To view the traffic that your Wi-Fi interface generates and receives, all you need to do is open Wireshark, select your wireless interface and hit the start button. But this will only capture data traffic going through the wireless interface after it establishes a connection with an access point.
What if you want to capture the control and management traffic that happens in the background. What if you want to monitor the traffic generated by other devices, not your network card? You might want this to see the probes generated by devices scanning the air for compatible Wi-Fi networks. Or you might want to debug a failing authentication or misbehaving QoS parameters.
To capture traffic this way in Windows you need a piece of software called NPCAP. NPCAP is an opensource library, part of the NMAP project that allows you to sniff packets from the network. It’s the successor of WinPCAP, an older library that is now discontinued.
The mode of operation of the network device that allows you this kind of capture is called “monitor”. Your Wi-Fi NIC must support this kind of operation (not all of them do) and also NPCAP must support your specific NIC. If your device can be set in monitor mode, you will see a checkbox in the column “Monitor” when viewing the “Capture Interfaces” in Wireshark. Most NICs need to disassociate from all network in order to be set to monitor mode, so make sure you have another connection to the network (wired or a second Wi-Fi dongle) if you need it.
So let’s get started. Uninstall any version of WinPCAP that might exist in your computer and install the latest version of Wireshark. During the installation, make sure to select the option to install NPCAP. After you reboot your machine, disconnect from any Wi-Fi networks, run Wireshark as administrator and hit the “Capture Options” button. This will take you to the “Capture Interfaces” screen.
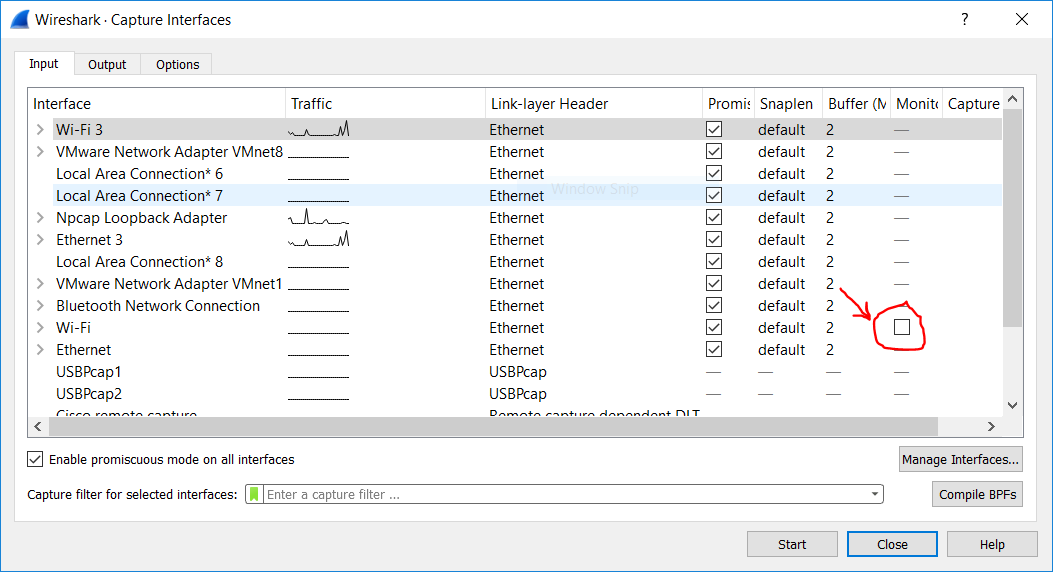
As you can see on the image above, my Intel Wireless AC-7260 supports monitor mode, while my other Wi-Fi dongle (called “Wi-Fi 3”) doesn’t. Selecting this checkbox, will change the “Link-Layer Header” column to “802.11 plus radiotap header” as in the image bellow:
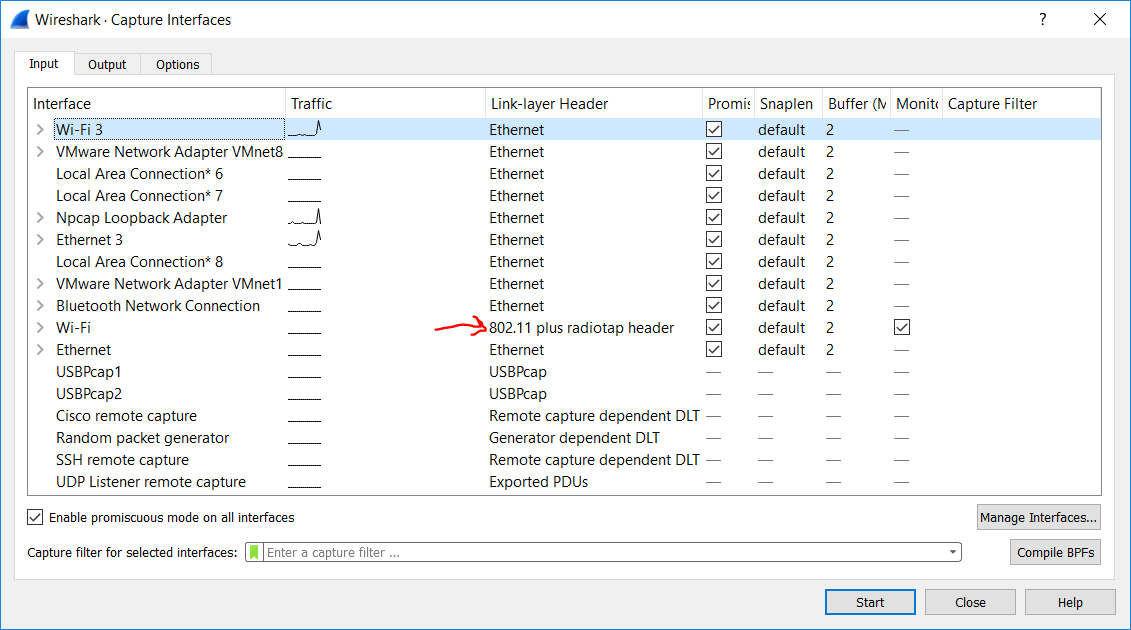
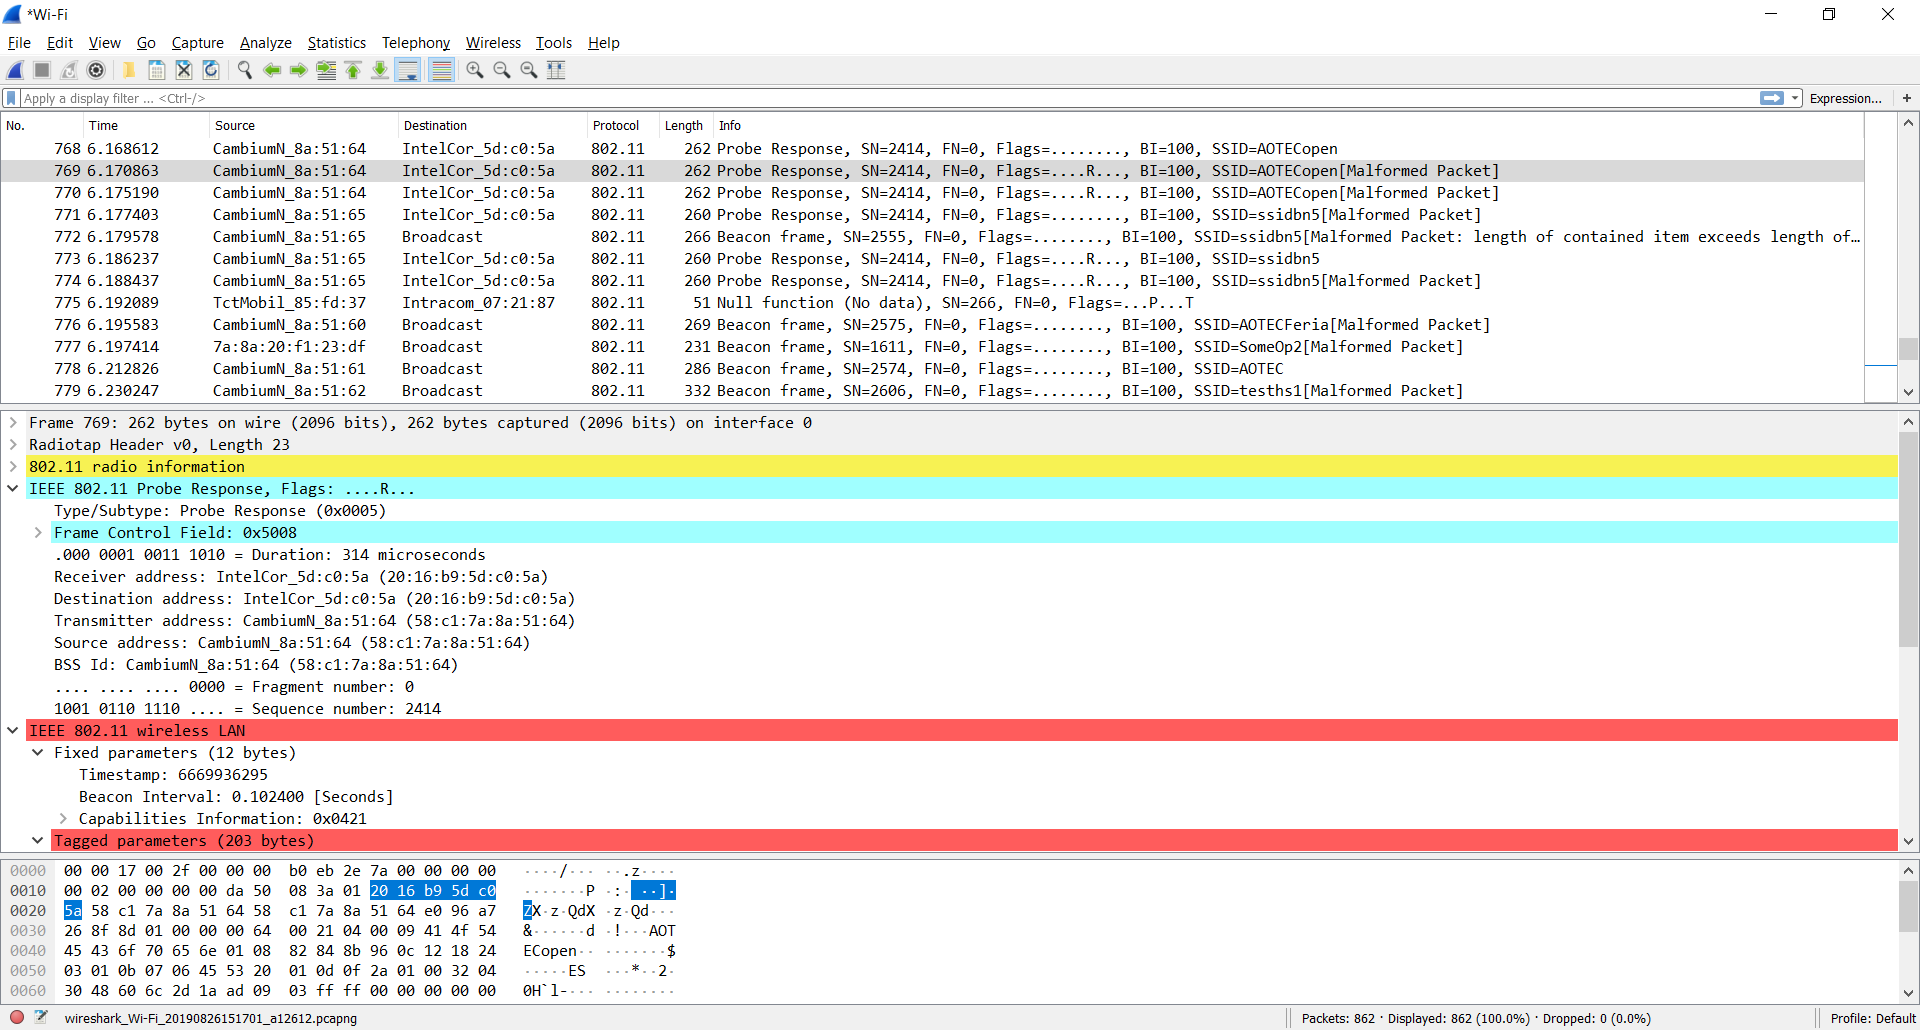
Selecting the monitor interface and clicking start will show you all the control, management and data traffic that your Wi-Fi NIC receives.
So that’s it!
Well no, not really. Wireshark doesn’t allow you to configure any parameters of the monitor interface and this turns it kind of useless. Come think of it, what’s the channel that the packets in the image above were captured. We didn’t configure that anywhere. In this case it’s the channel on which the radio was set to before enabling the monitoring mode. It could be the channel of the last network you were connected to, or a random channel on which the device was listening for probes at the moment. But this is no good when you need to debug an access point, you need to configure the radio to a specific frequency. To do that we have to use the “WlanHelper” CLI tool. It comes bundled with NPCAP we installed earlier. So open a Windows terminal as administrator and navigate to “C:\Windows\System32\Npcap”. Typing “WlanHelper.exe” will provide you with the help text of the tool as in the image bellow.
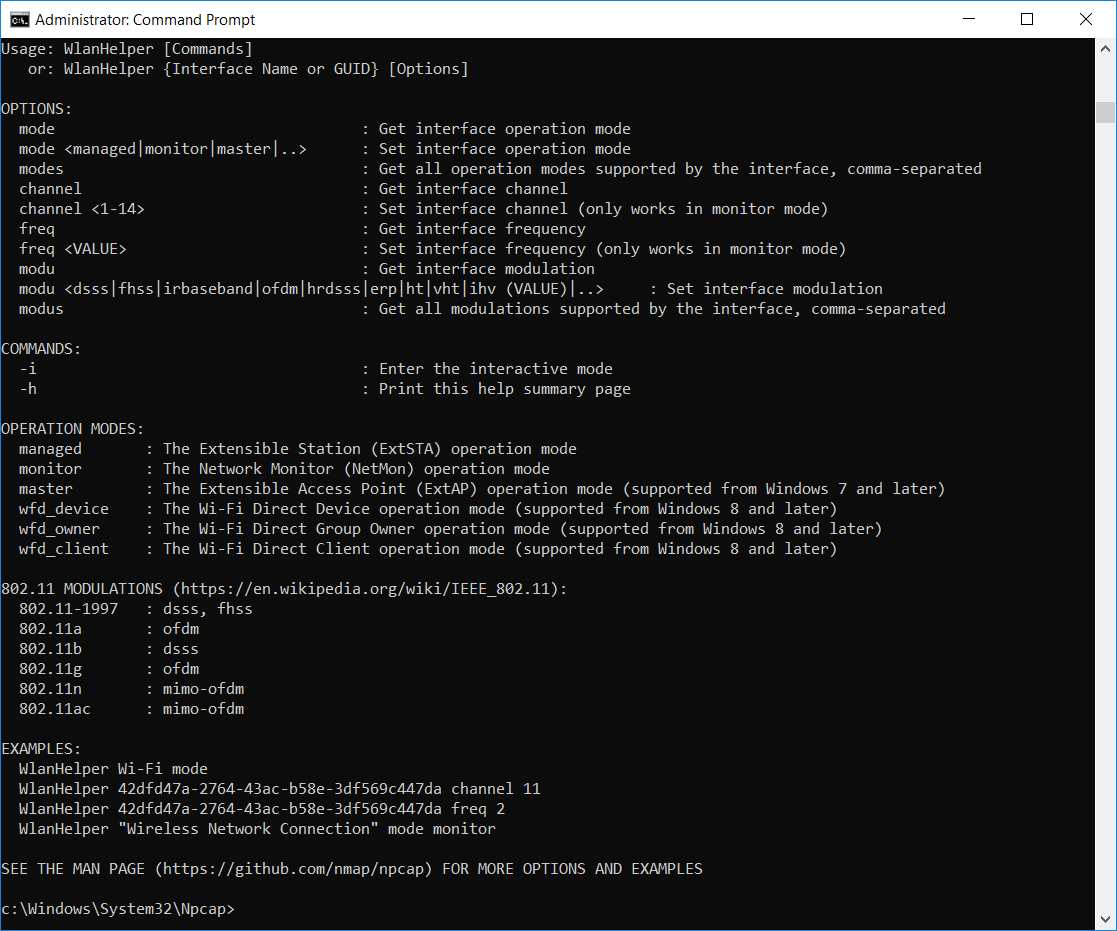
To see the mode of operation of our NIC we need to enter the following command:
WlanHelper.exe Wi-Fi modeWhere “Wi-Fi” is the name of the NIC as you can see it in Wireshark. And the output may be:
monitor
To view the channel that the interface operates on currently:
WlanHelper.exe Wi-Fi channelAnd the output:
11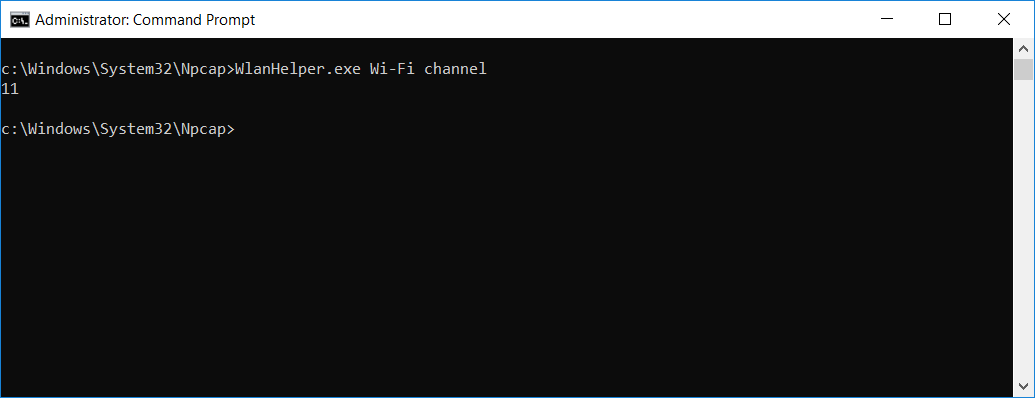
Finally, to change the channel use the command like this:
WlanHelper.exe Wi-Fi channel 6The output should be:
success
Now, go back to Wireshark and capture again on the monitor interface. The traffic you get now is on the channel you set with the WlanHelper tool.
Have fun debugging wireless netoworks!
